EXPO MATA

Is all about Education,Exams runs, and PC knowledge

Ad1

Tuesday 5 December 2017

Steps on how to Partition your an External Hard Disk in Windows 10 - Expomata

Let’s have a look on the guide that will help you to partition an external Hard Disk in Windows 10 to store files quickly on different drives in your external hard disk. This can be done by using the inbuilt disk management feature of Windows. 
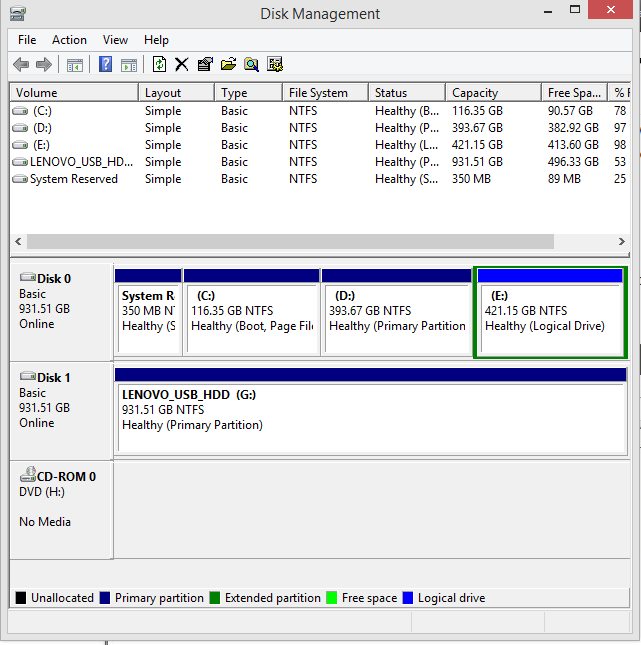
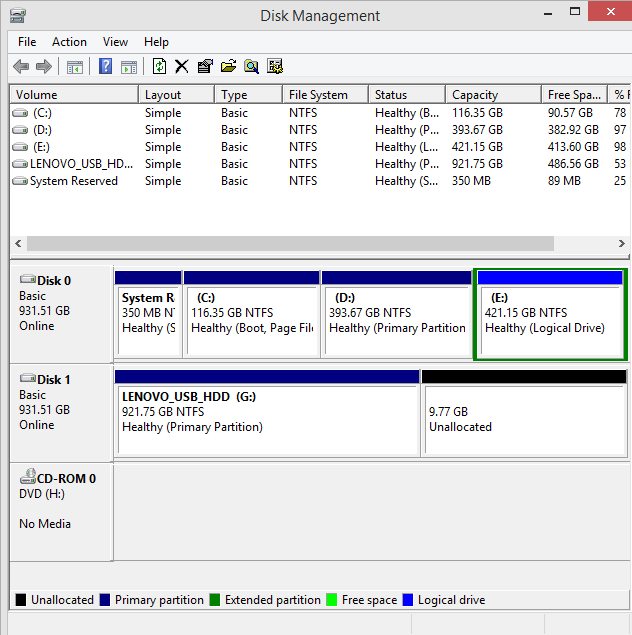
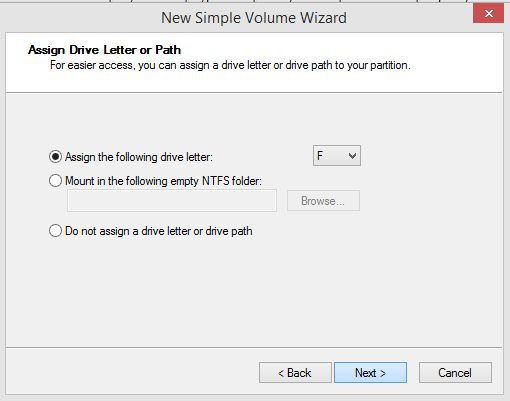
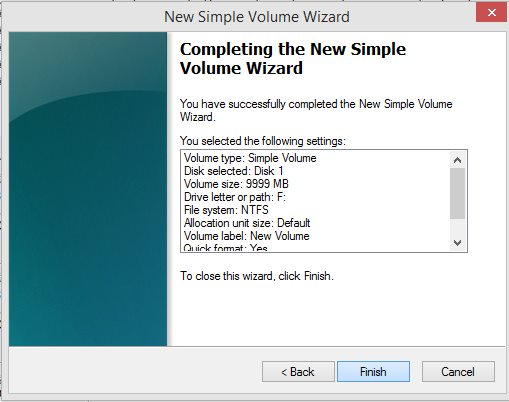
Many of us want numbers of partitions to store different data in different drives as it becomes comfortable for us to determine and locate a file. So we can shrink fascinating data from a drive and create a new drive with shrunk space. For example, if we have the drive of 200Gb and it is approximately 80gb full with data and remaining 120 Gb is free, here we can shrink 100Gb and create a new disk. As you must had read our previous article where we had discussed guide to partition an internal hard disk, but in this section, we will discuss a method to partition the external hard drive. Yes, it’s possible and can easily be done in your Windows 10 operating system. So have a look at complete guide discussed below to proceed.How to Partition an External Hard Disk in Windows 10
The method is quite easy and straightforward, and you just need to follow some simple step by step discussed below to proceed.

Steps to Partition an External Hard Disk in Windows 10:

  1. First of all, in your Windows 10 OS, you need to click on windows button and then just type diskmgmt.msc and then press enter.
    Partition an External Hard Disk in Windows 10
  2. Now the disk management dialog box will appear, there you will see your external drive storage, simply right-click on it and select shrink option.
    Partition an External Hard Disk in Windows 10
  3. Now enter the storage in an amount that you want to partition in a different drive and a simple click on ok after that.
  4. Now you will see unallocated space left in the drive after you shrunk the volume and this space will you now assign to a new drive.
    Partition an External Hard Disk in Windows 10
  5. Now right click on unallocated space and there select New Simple  Volume.
    Partition an External Hard Disk in Windows 10
  6. Now follow the guide to choose the size you want to allocate to that drive.
    Partition an External Hard Disk in Windows 10
  7. After you are done, a finish message will be displayed by simply clicking on next-next options there.
    Partition an External Hard Disk in Windows 10
  8. That’s it! You are done, a new drive will get created with your allocated space to that drive, and you can now use that space to store files differently on your external drive.
So above discussion was all about How to Partition an External Hard Disk in Windows 10, Use the guide and you can easily create multiple drives in your external hard disk and use them to store files separately on that drive. Hope you like the handbook, do share it with others too. Leave a comment below if you have any related queries with this.

No comments:

Post a Comment